/
Support Tracker Project
Support Tracker Project
Introduction
To start using the Support Tracker plugin, the Support Tracker Project is required as all other Support Tracker components are dependent on it.
Steps
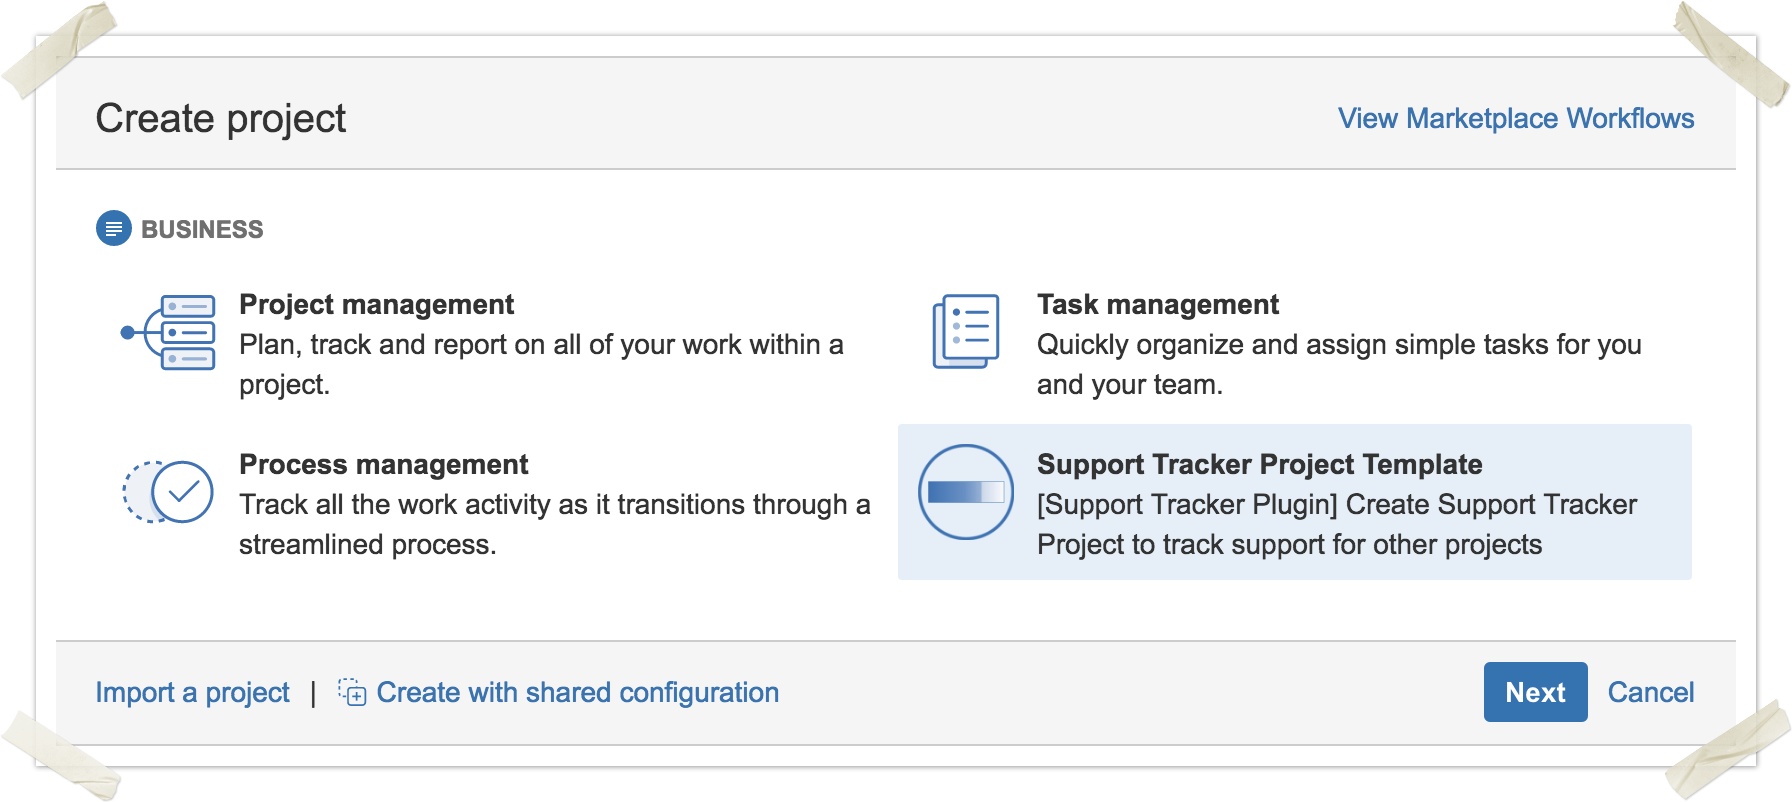
- Choose Projects > Create Project and choose Support Tracker Project Template
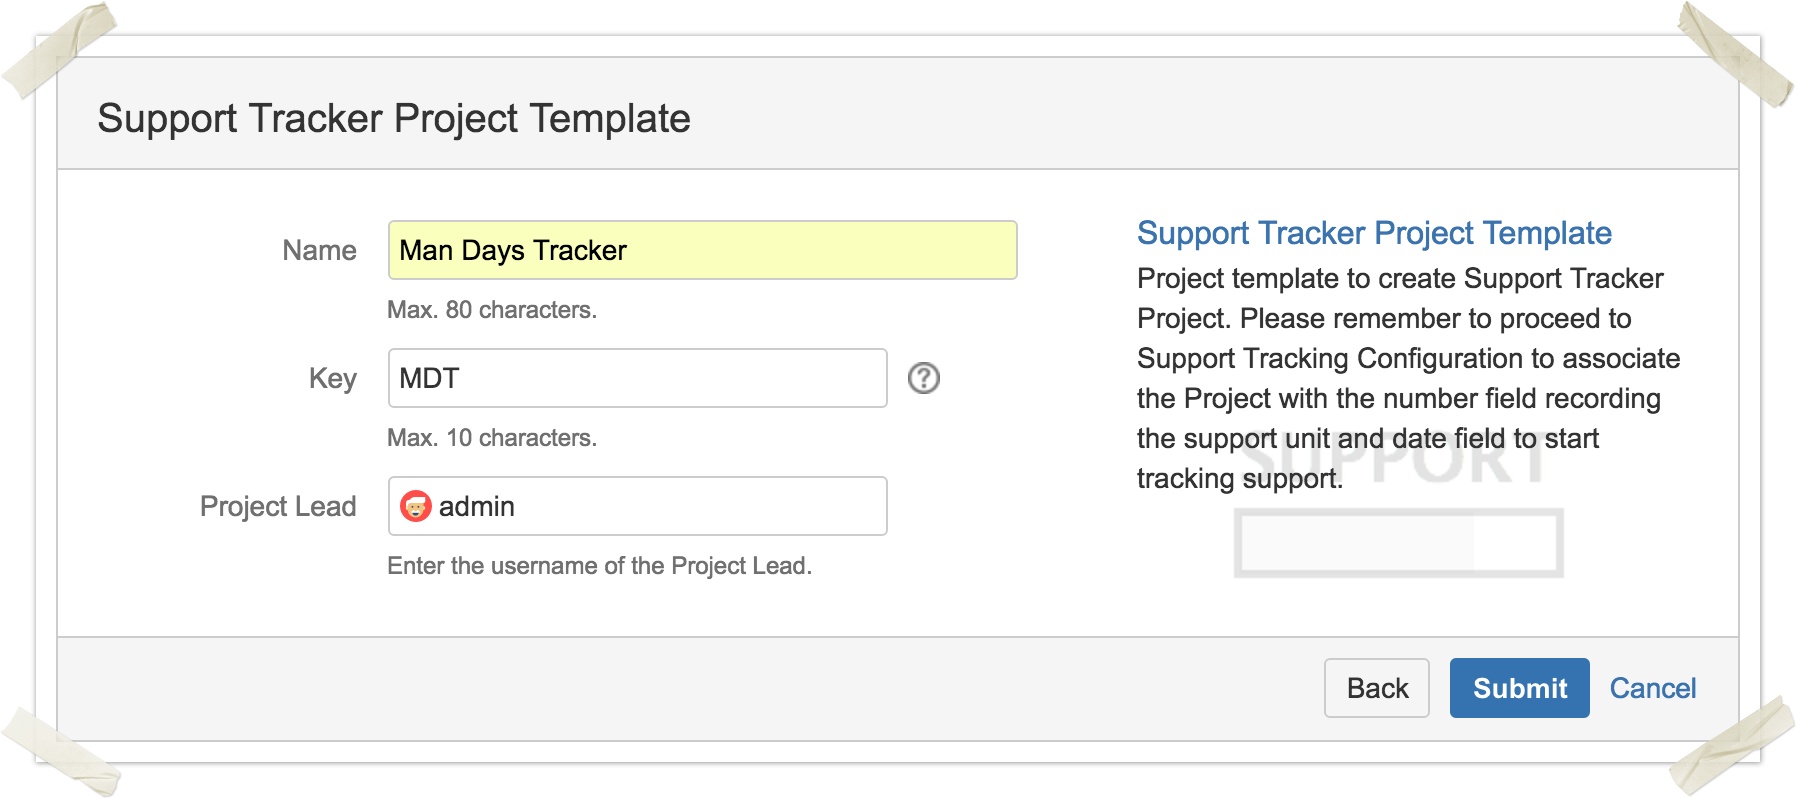
- Enter a Project Name and edit the Key and Project Lead if required
- The Support Tracker project will be created with the corresponding schemes and fields:
- Support Tracker Custom fields:
- Fields created are – ST: Linked Project(s), ST: Contract Start Date, ST: Contract End Date, ST: Total Credits
- The created fields will be locked
- User should not remove the field or remove them from any Support Tracker screen
- Support Tracker Issue Type:
- Support Tracker issue type is created
- User should not delete away the issue type
- Support Tracker Schemes:
- The workflow, screen and field schemes will be created automatically
- User should avoid removing any settings in the original scheme
- User can add to the Support Tracker schemes if required, e.g. workflow statuses, conditions or post functions, additional fields to Support Tracker screen etc.
- Jira Roles, Permission and Notification schemes are not set for Support Tracker project, user can create their own schemes to replace the default Permission and Notification scheme
- Ensure that your Permission and Roles is set properly so that the users who needs to define the support timeline and allocated budget can Create issues
- Notification is not compulsory, but if scheme is added, ensure that Issue Commented notification is set so that user will be notified if the support has passed the warning or total allocated credit
- Support Tracker Custom fields:
, multiple selections available,
Related content
Support Tracker Mapping
Support Tracker Mapping
More like this
Quick Setup
Quick Setup
More like this
Support Tracker
Support Tracker
More like this
Support Tracker Issues
Support Tracker Issues
More like this
Use Cases
Use Cases
More like this
Support Tracker Notification
Support Tracker Notification
More like this

