...
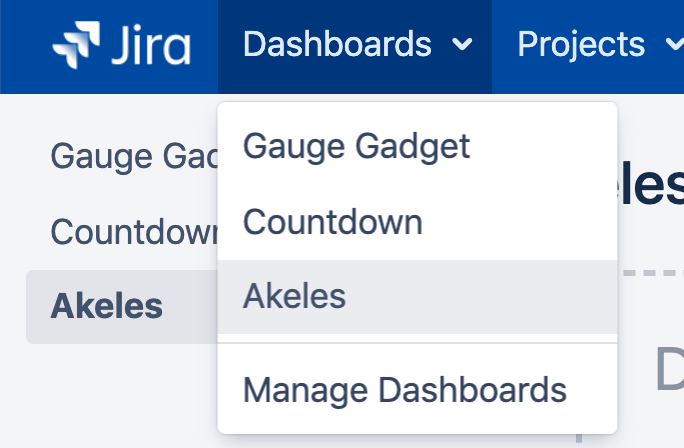
Click on Dashboard on the top left hand corner and select the dashboard that you would like to add the gadget in.

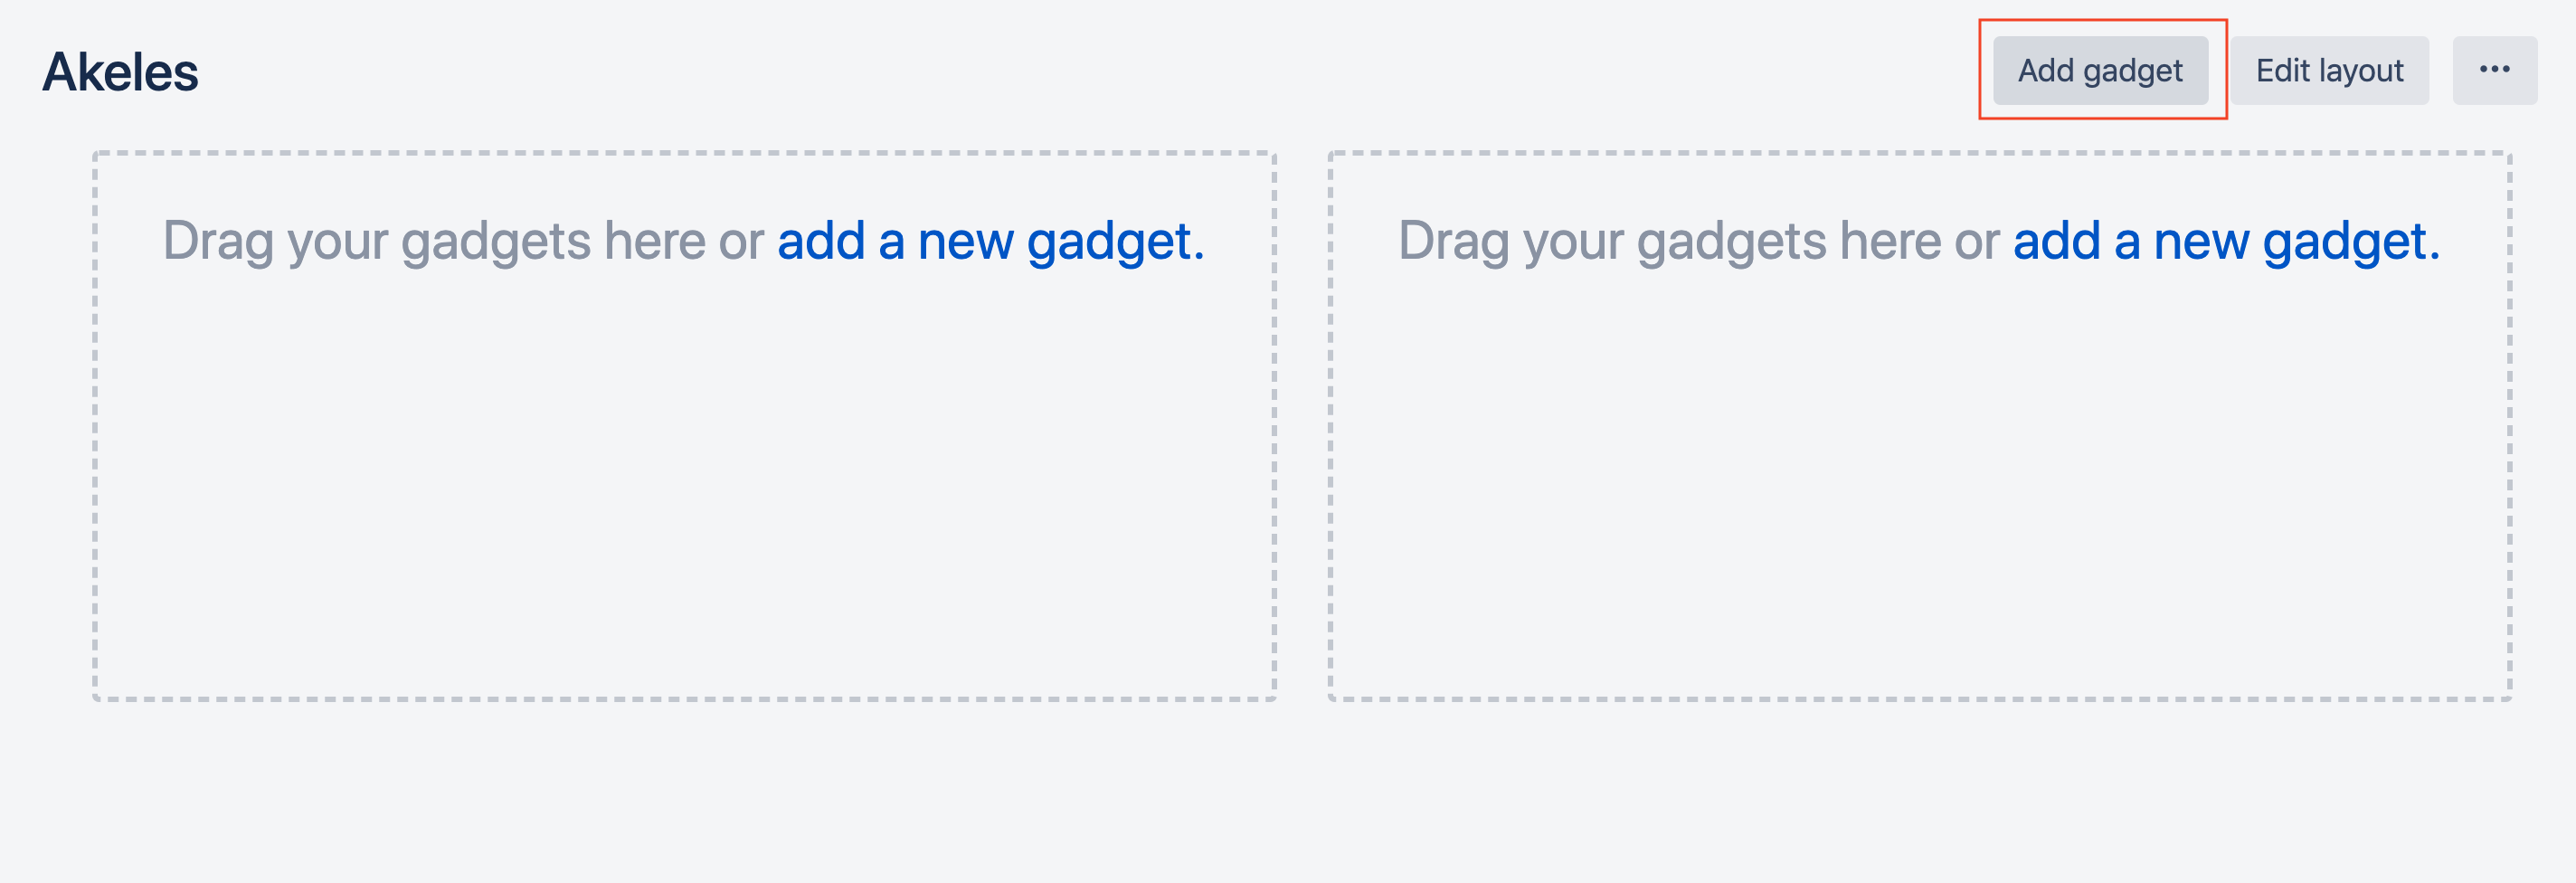
On the dashboard page, click on Add Gadget on the top right hand corner.

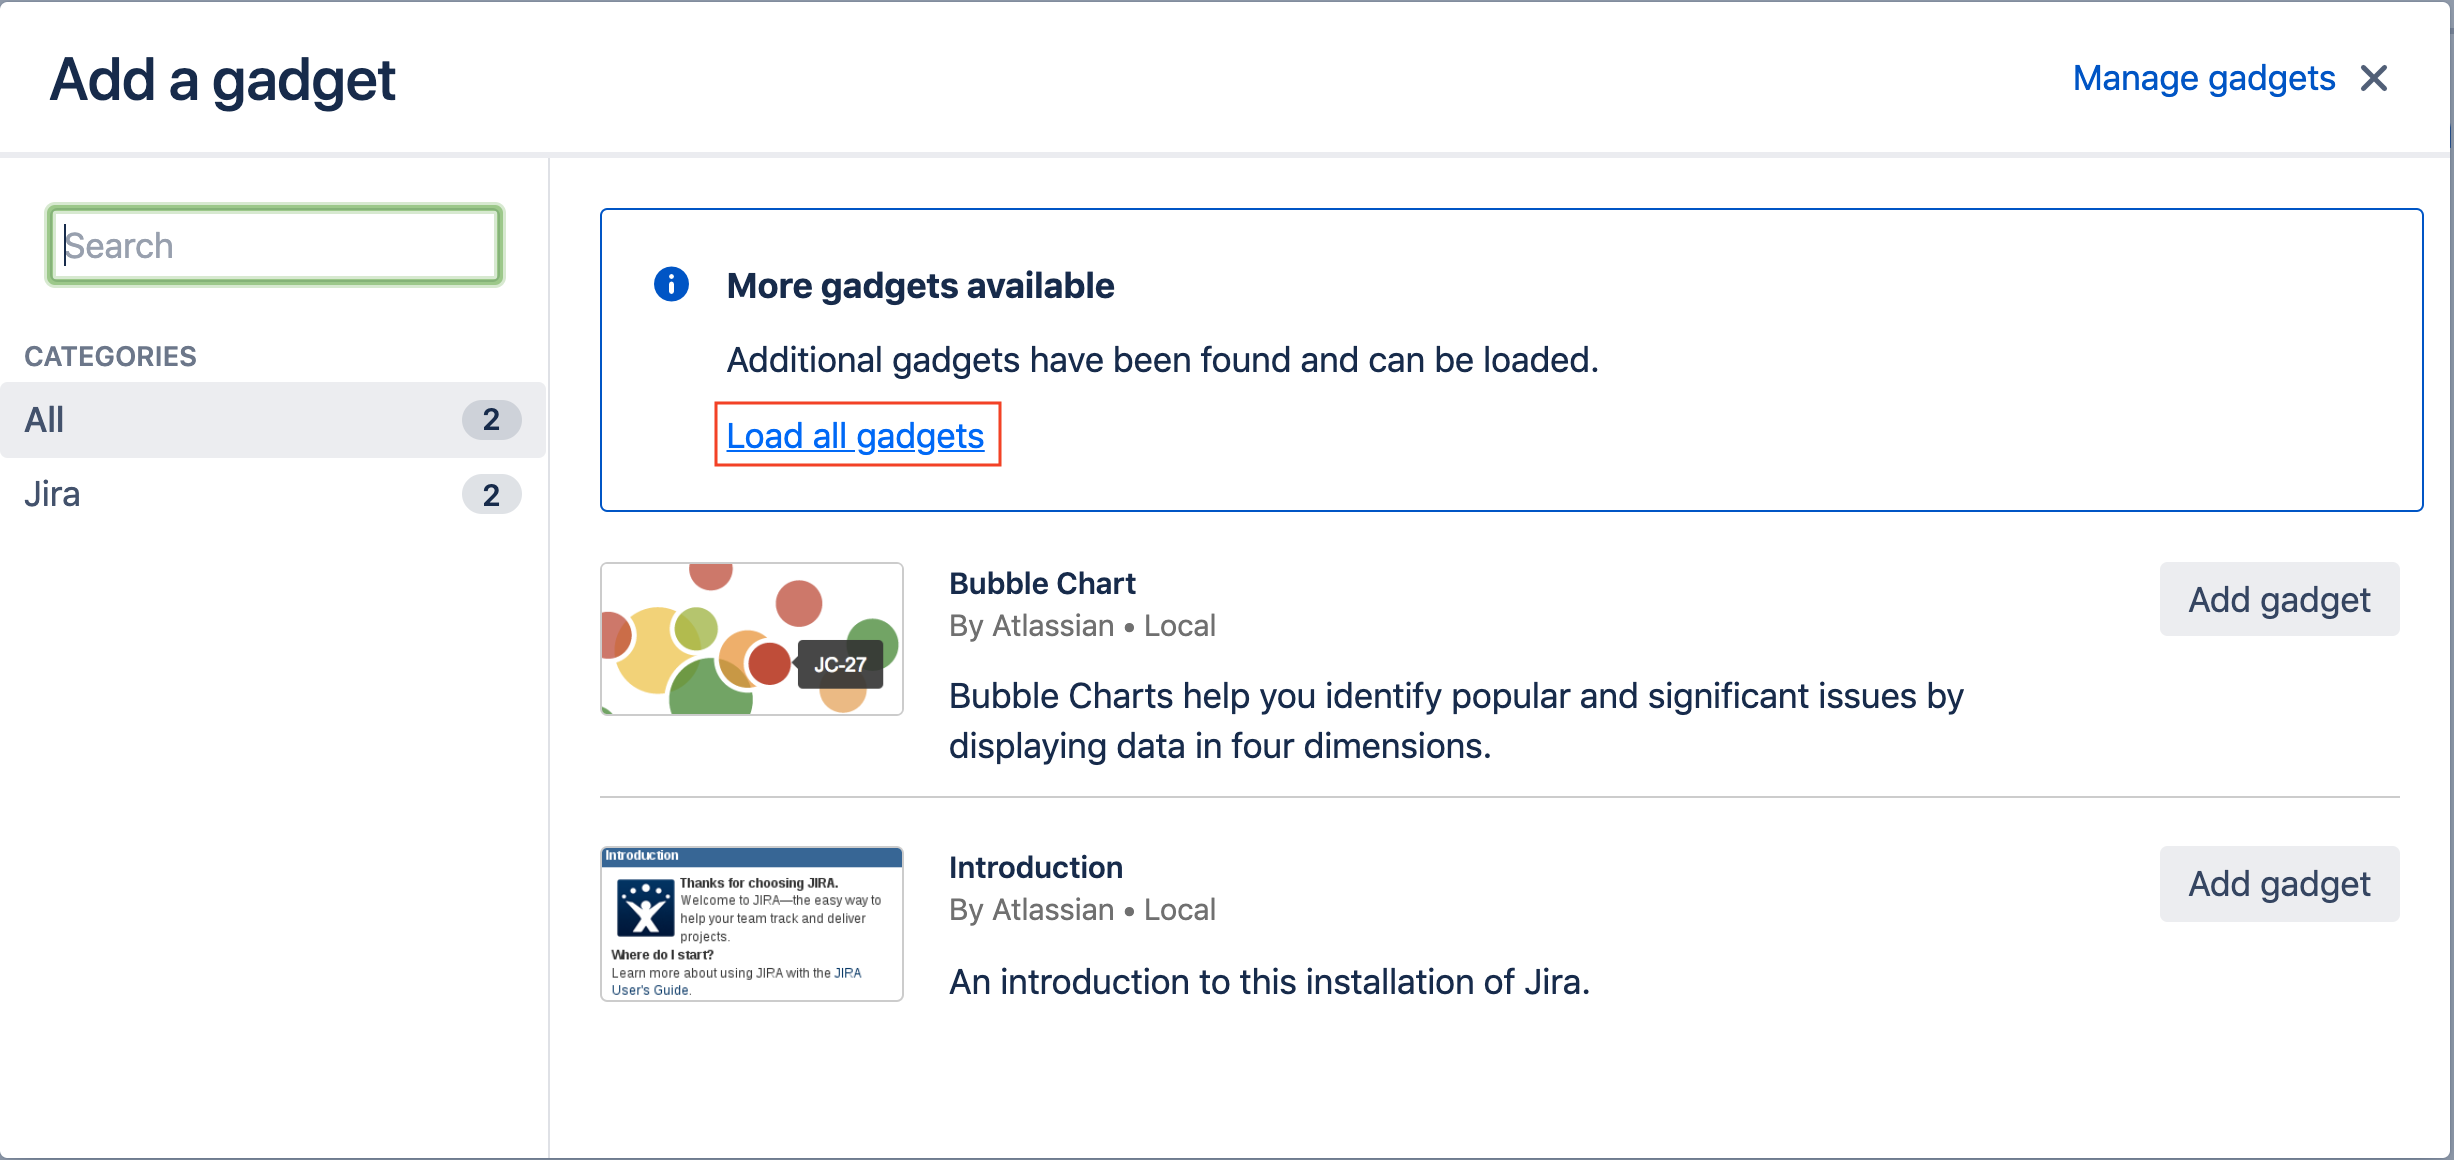
A dialog Add a gadget will appear. If there are more gadgets available, click on Load all gadgets.

Search for Business Days Countdown Gadget in the search box or scroll through the list of gadgets.
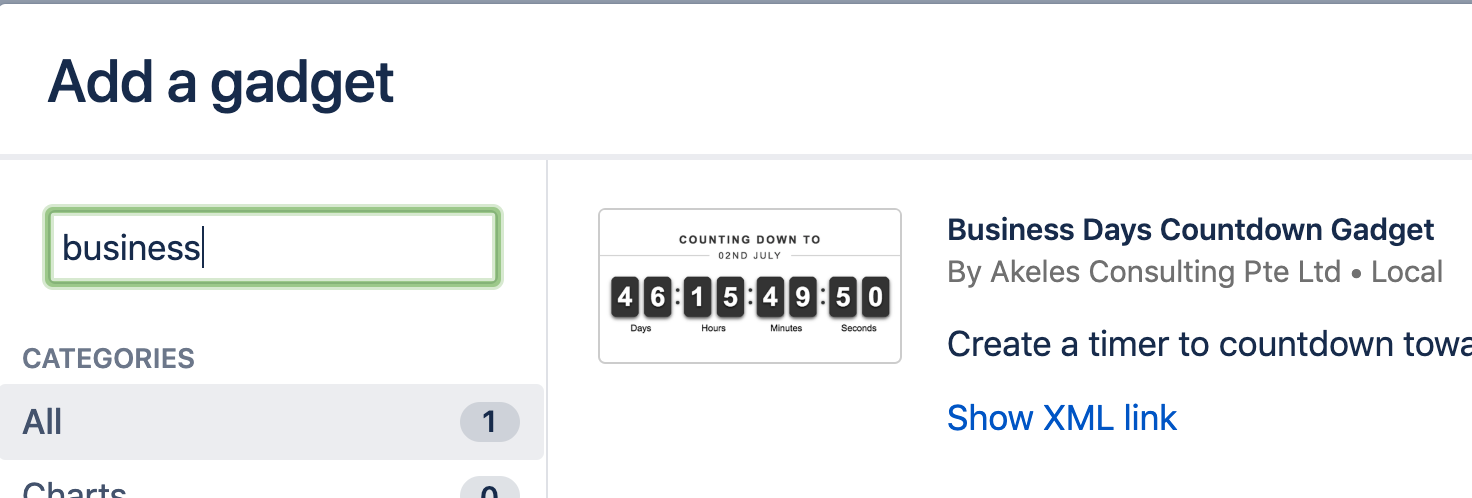

Click on Add gadget button.


Click on the ✕ to close dialog.
...
Field Name | Required | Default Value | Explanation | ||
|---|---|---|---|---|---|
Title | The title of the event to countdown to. | ||||
Countdown Date | 
| Select a date (yyyy-mm-dd hh:mm) to countdown to. | |||
Timezone | Select a timezone to be applied to Countdown Date and Calendar chosen. Leave blank to use timezone based on local time. | ||||
Display Format |
| DD:HH:MM:SS | Select the display format of the time till countdown date:
| ||
Clock Type |
| Flip Clock | Select the type of clock:
| ||
Clock Size |
| Medium | Select the size of clock:
| ||
Clock Alignment |
| Center | Select the alignment of clock:
| ||
Calendar Type |
| 24x7 | The calendar to apply to countdown timer. See Configuring Calendars for more details on how to configure calendar for your organisation. |
...