There are 2 ways of installing depending whether your JIRA server has a direct connection to the Internet
With Internet Connection
- Log in as a JIRA administrator
- Click on Administration link
- Under the Plugins section, click on Find New Add-ons
- Enter Canned Search Gadget in the texbox labelled with Search the Marketplace
- Click on the Install button to install the plugin
- Wait for the installation process to complete and click on the Close button
- Click on the Manage button to proceed with the configuration
Without Internet Connection
- Download the latest version of the plugin from the Atlassian Marketplace
- Log in as a JIRA administrator
- Click on Administration link
- Under the Plugins section, click on Manage Add-ons
- Click on the Upload Add-on link
- Click on Choose File button and select the latest version of the plugin from the Marketplace (e.g. CannedSearchGadget-1.0.jar)
- Click on Upload button to upload the plugin
- A confirmation dialog box will appear
.png?version=2&modificationDate=1396238216383&cacheVersion=1&api=v2&effects=border-simple%2Cshadow-kn&width=500&height=230)
Entering the License Key
A license key is required for the plugin to work. Our plugin is also free for 30 days if you wish to test out our plugin with no obligation to purchase.
To activate the free trial:
- Go to the Universal Plugin Manager
- Click on the Canned Search Gadget under the User-installed Add-ons section to expand the panel

- Click on Free Trial.
- Enter your Atlassian ID to obtain a license key.

- Paste the obtained license key in the License Key Text Box
- Click on the Update button to save.
To key in the license key:
- Go to the Universal Plugin Manager
- Click on the Canned Search Gadget under the User-installed Add-ons section to expand the panel
- Paste the obtained license key in the License Key Text Box
- Click on the Update button to save.
Allowing Other Users to Create/Edit Canned Filters
By default, only JIRA administrators are able to access the Manage Canned Filters link above, while non-JIRA administrators will not be able to see this link. In order to allow non-JIRA administrators to craft their own canned filters, by having access to the link.
- To access the canned filters page, click on the Issues button in the top menu bar, then click on Manage Canned Filters.

- To edit the access control (i.e. choose who can create/edit canned filters), click on the Access Control Button on the top right hand corner of the page.
.png?version=2&modificationDate=1512544621168&cacheVersion=1&api=v2&width=500&height=86)
A dialog box will pop up, allowing you to add/edit particular users/groups and set their access type.
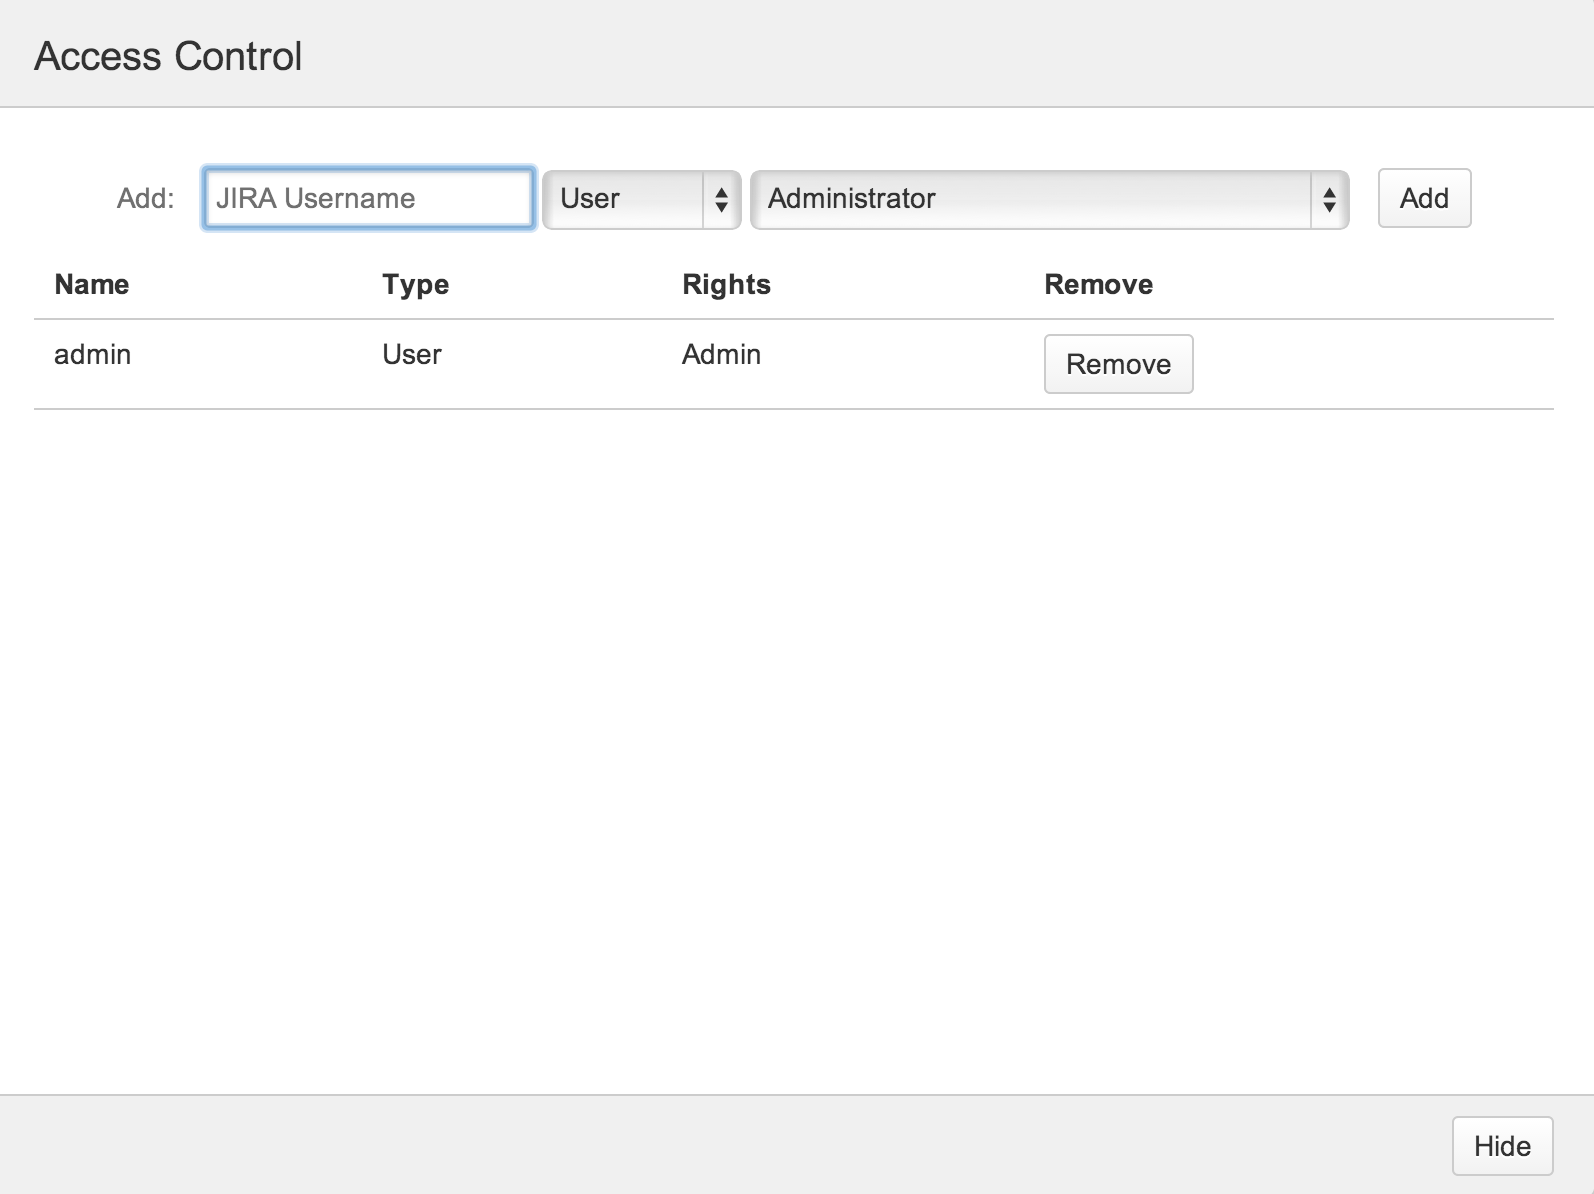
The various access types are further explained below:Access TypeDescriptionAdministrator The particular user/group has full access to all the functionalities of the canned filter page, and is able to edit records in the Access Control page. Can View/Edit All Canned Filters The particular user/group is able to have access to all the canned filters that were created, and is able to edit every one of them. Can View/Edit Own Canned Fitlers The particular user/group is able to create/edit their own canned filter, but is unable to edit canned filters created by others. - Users who are in the access control list, or are in groups residing in the access control list, will be able to view the Manage Canned Filters link under the Issues menu.