How to Configure the Use of Canned Filter
When using Canned Search Gadget for the first time
What do you intend to achieve?
Add/Edit Canned Filters
- Navigate to Manage Canned Filters page.
You can access the page from:Navigation Bar
- Issues > Manage Canned Filters
- Issues > Manage Canned Filters
- Manage add-ons
- Settings > Add-ons > Manage Add-ons
- Expand the Canned Search Gadget Section
- Click on Configure
Click on Add Canned Filter button to add a new filter or Edit Filter button to edit the corresponding filter.
A dialog box will pop up. Configure the canned filter and click on Save button to save the changes made.
There are 3 sections to the configuration:
Choose Filter
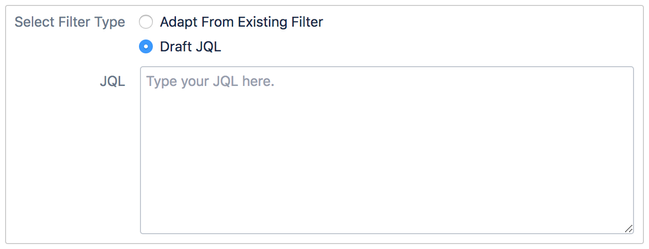
Configure JQL of the Canned Filter.
| Fields | Description | Default |
|---|---|---|
| Canned Filter Name | The name of the Canned Filter. | New Filter |
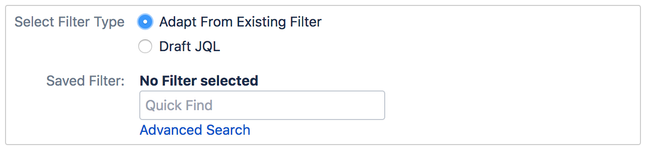
| Select Filter Type | You can:
| Adapt From Existing Filter |
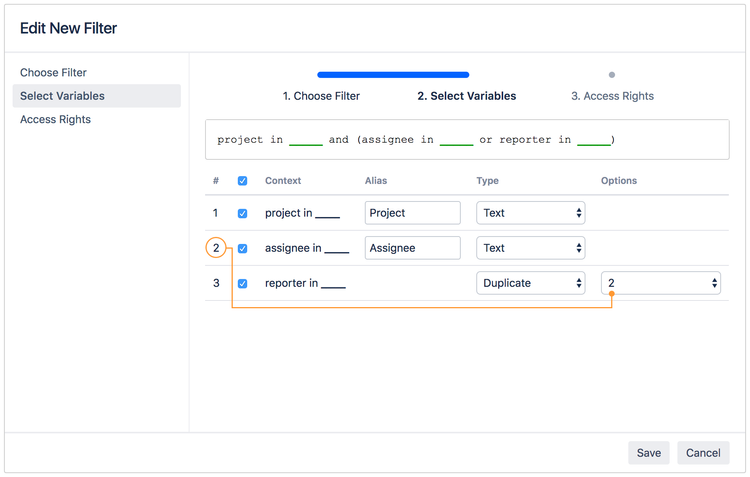
Select Variables
Select which variables to be displayed in the gadget. The underscore text demarcates that a field will be created, and the variable will be filled in place of the underscore text.
.png?version=1&modificationDate=1528192121231&cacheVersion=1&api=v2&width=750&height=477)
| Columns | Description | |
|---|---|---|
| # | This is only available from version 2.2.0 onwards. Index of the variable. | |
| Checkbox | Click to select/de-select variables to be displayed in the canned search gadget. | |
| Context | Context of the variable. | |
| Alias | Label for the input field to be displayed in the canned search gadget. | |
| Type | Type of input field to display in the canned search gadget. There are a total of 4 types: | |
| Text | This will render a text field in the gadget. When clicked, an autocomplete list of possible values will appear, and will further refine as the user types.
| |
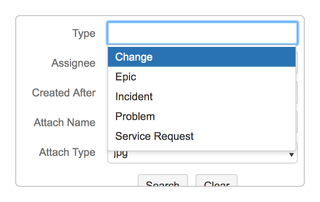
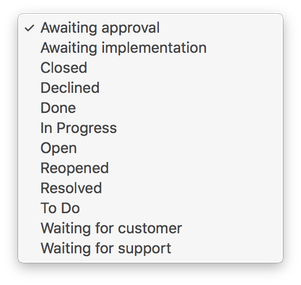
| Dropdown | This will render a dropdown field in the gadget. When clicked, the list of options will be displayed. | |
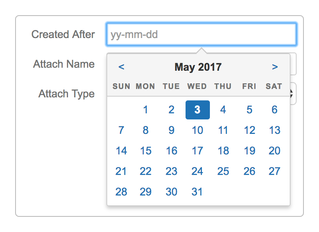
| Date Picker | This will render a text field in the gadget. When clicked, a date picker will appear for user to conveniently select a date.
| |
Duplicate | This is only available from version 2.2.0 onwards. This will NOT render any field in the gadget. | |
| Options | This is only available when the selected Type is Dropdown or Duplicate. | |
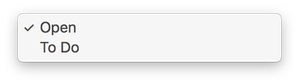
| For Dropdown | Define the list of options to be displayed in the dropdown field, delimited by comma. This is useful if you wish to limit the options to a subset of all the possible options. For example: Context: status = _____ Type: Dropdown Options input field: Open, To Do
Options input field: empty | |
| For Duplicate | Select the index (#) of the field value to copy over. For example, as shown below, the value of the reporter field will copy the value of index #2 field, which is the assignee field.
| |
Access Rights
This will determine who is able to access a particular filter through the gadget.
.png?version=1&modificationDate=1528191273592&cacheVersion=1&api=v2&width=750&height=477)
| Fields | Description |
|---|---|
| Restrict Access to List | If checked, the access to the Canned Filter will be restricted to the list. Else, access will NOT be restricted. |
| Add | Fill in username or group name, select the corresponding type, and click on Add to add to the access list. Click on Delete to remove a particular user or group from the access list. |
Edit Access Rights: Allowing Other Users to Create/Edit Canned Filters
By default, only Jira administrators are able to access the Manage Canned Filters link, while non-Jira administrators will not be able to see this link.
- Navigate to Manage Canned Filters, from either of the methods below
From Navigation Bar
- Issues > Manage Canned Filters
- Navigate to Manage add-ons,
- Expand the Canned Search Gadget Section
- Click on Configure
- Edit the access control, click on the Access Control Button on the top right hand corner of the page.
.png?version=1&modificationDate=1512547382018&cacheVersion=1&api=v2)
A dialog box will pop up, allowing you to add/edit particular users/groups and set their access type.
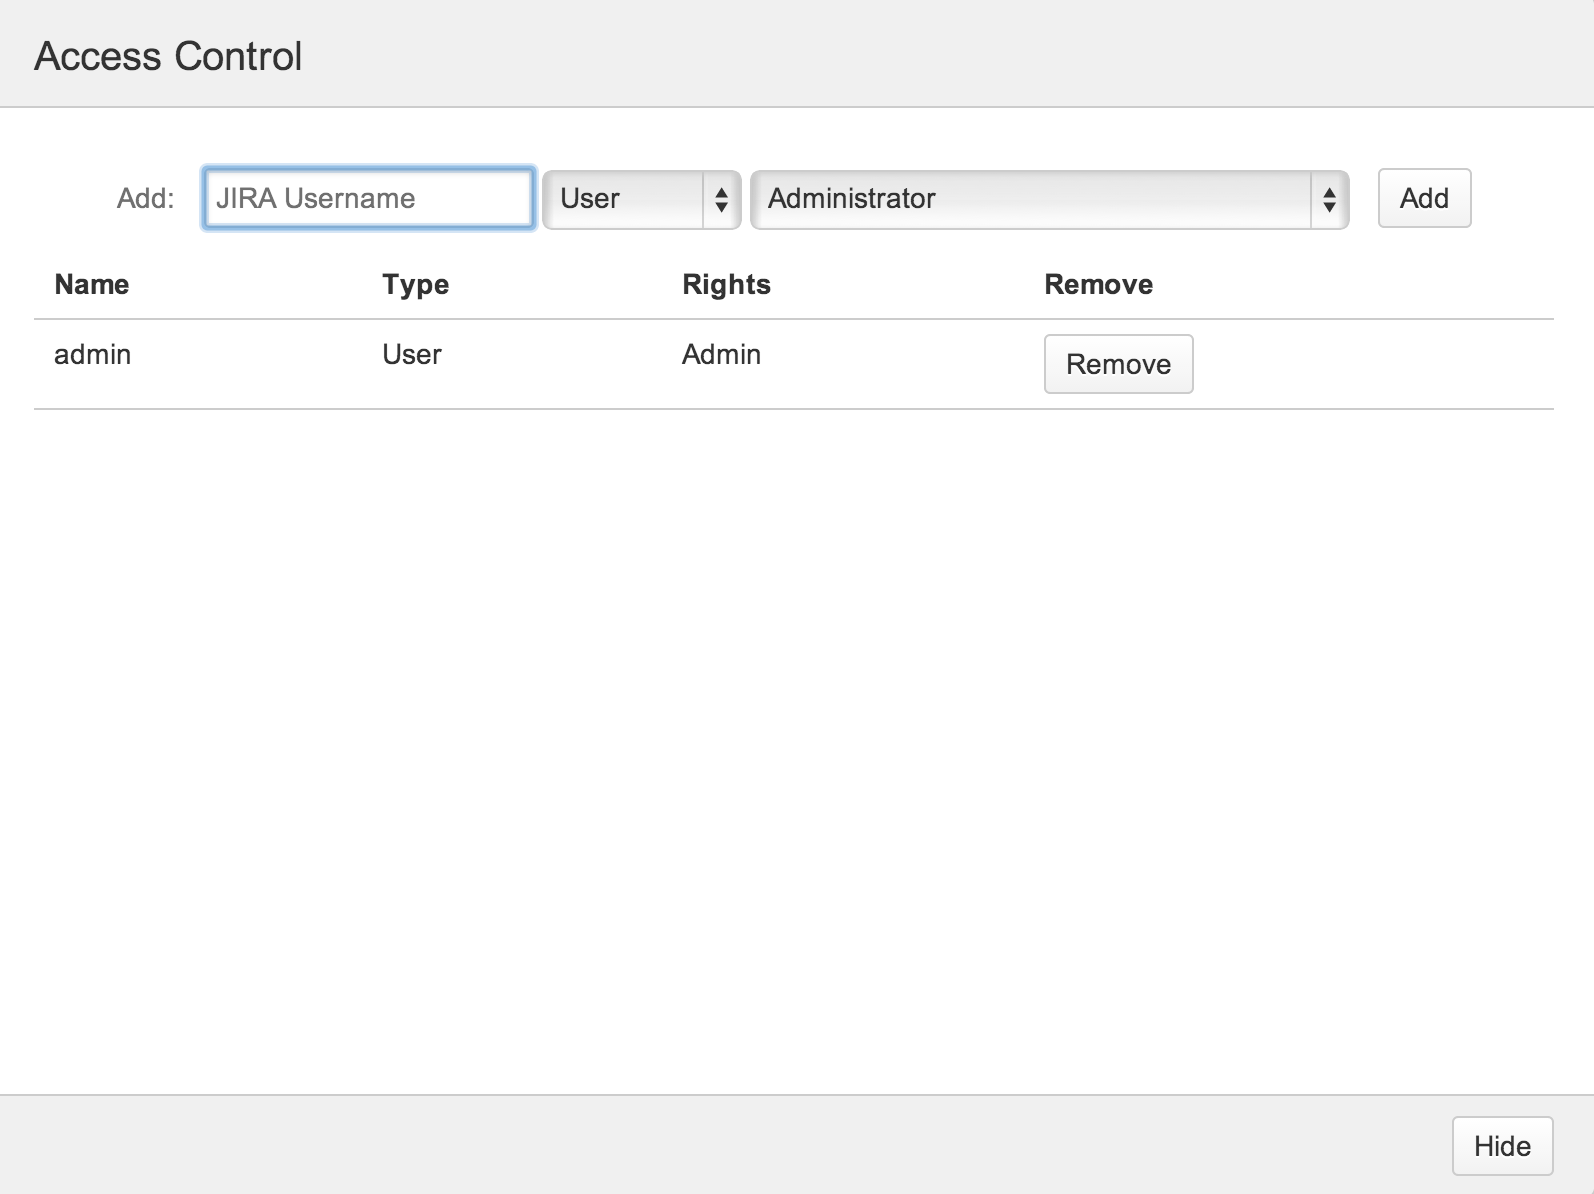
The various access types are further explained below:Access TypeDescriptionAdministrator The particular user/group has full access to all the functionalities of the canned filter page, and is able to edit records in the Access Control page. Can View/Edit All Canned Filters The particular user/group is able to have access to all the canned filters that were created, and is able to edit every one of them. Can View/Edit Own Canned Fitlers The particular user/group is able to create/edit their own canned filter, but is unable to edit canned filters created by others. - Users who are in the access control list, or are in groups residing in the access control list, will be able to view the Manage Canned Filters link under the Issues menu.
Configuring User Preferences for Canned Filter Gadget
Fill in the preferences for the particular gadget. Select which canned filter you want to be displayed in the gadget. The different configurations available are illustrated below.
Live Preview Open in Issue Navigator .png?version=1&modificationDate=1512551732283&cacheVersion=1&api=v2&width=500&height=334)
.png?version=1&modificationDate=1512551732557&cacheVersion=1&api=v2&width=500&height=541) PreferenceDescription
PreferenceDescriptionCanned Filter The canned filter, the defined fields of which will be displayed as a form in the gadget view. Title Title of the canned search gadget window
Instructions When filled, the text will be shown on top of the gadget, in bold, as instructions for how to fill up the fields of the canned search form. Navigator Method Select what happens when a link to the Issue Navigator is clicked on.
- Open the Issue Navigator in a new tab (Open in New Tab)
- Refresh the current page that the gadget is in, and load the issue navigator (Open in Current Page)
Action
Select what happens when the search button is clicked
- Open the Issue Navigator in a new tab (Live Preview)
- The user will be redirected to the issue navigator, with the shortlisted issues displayed inside depending on the field variables that were filled (Open in Issue Navigator)
Number of Results
(For Live Preview Option)
Number of results that will be displayed per page in the issues table. Fields to Display
(For Live Preview Option)
Customise which fields you want to display in the issues table.
- Click on the Save button to save the preferences associated with the particular instance of the canned search gadget.
Related articles